
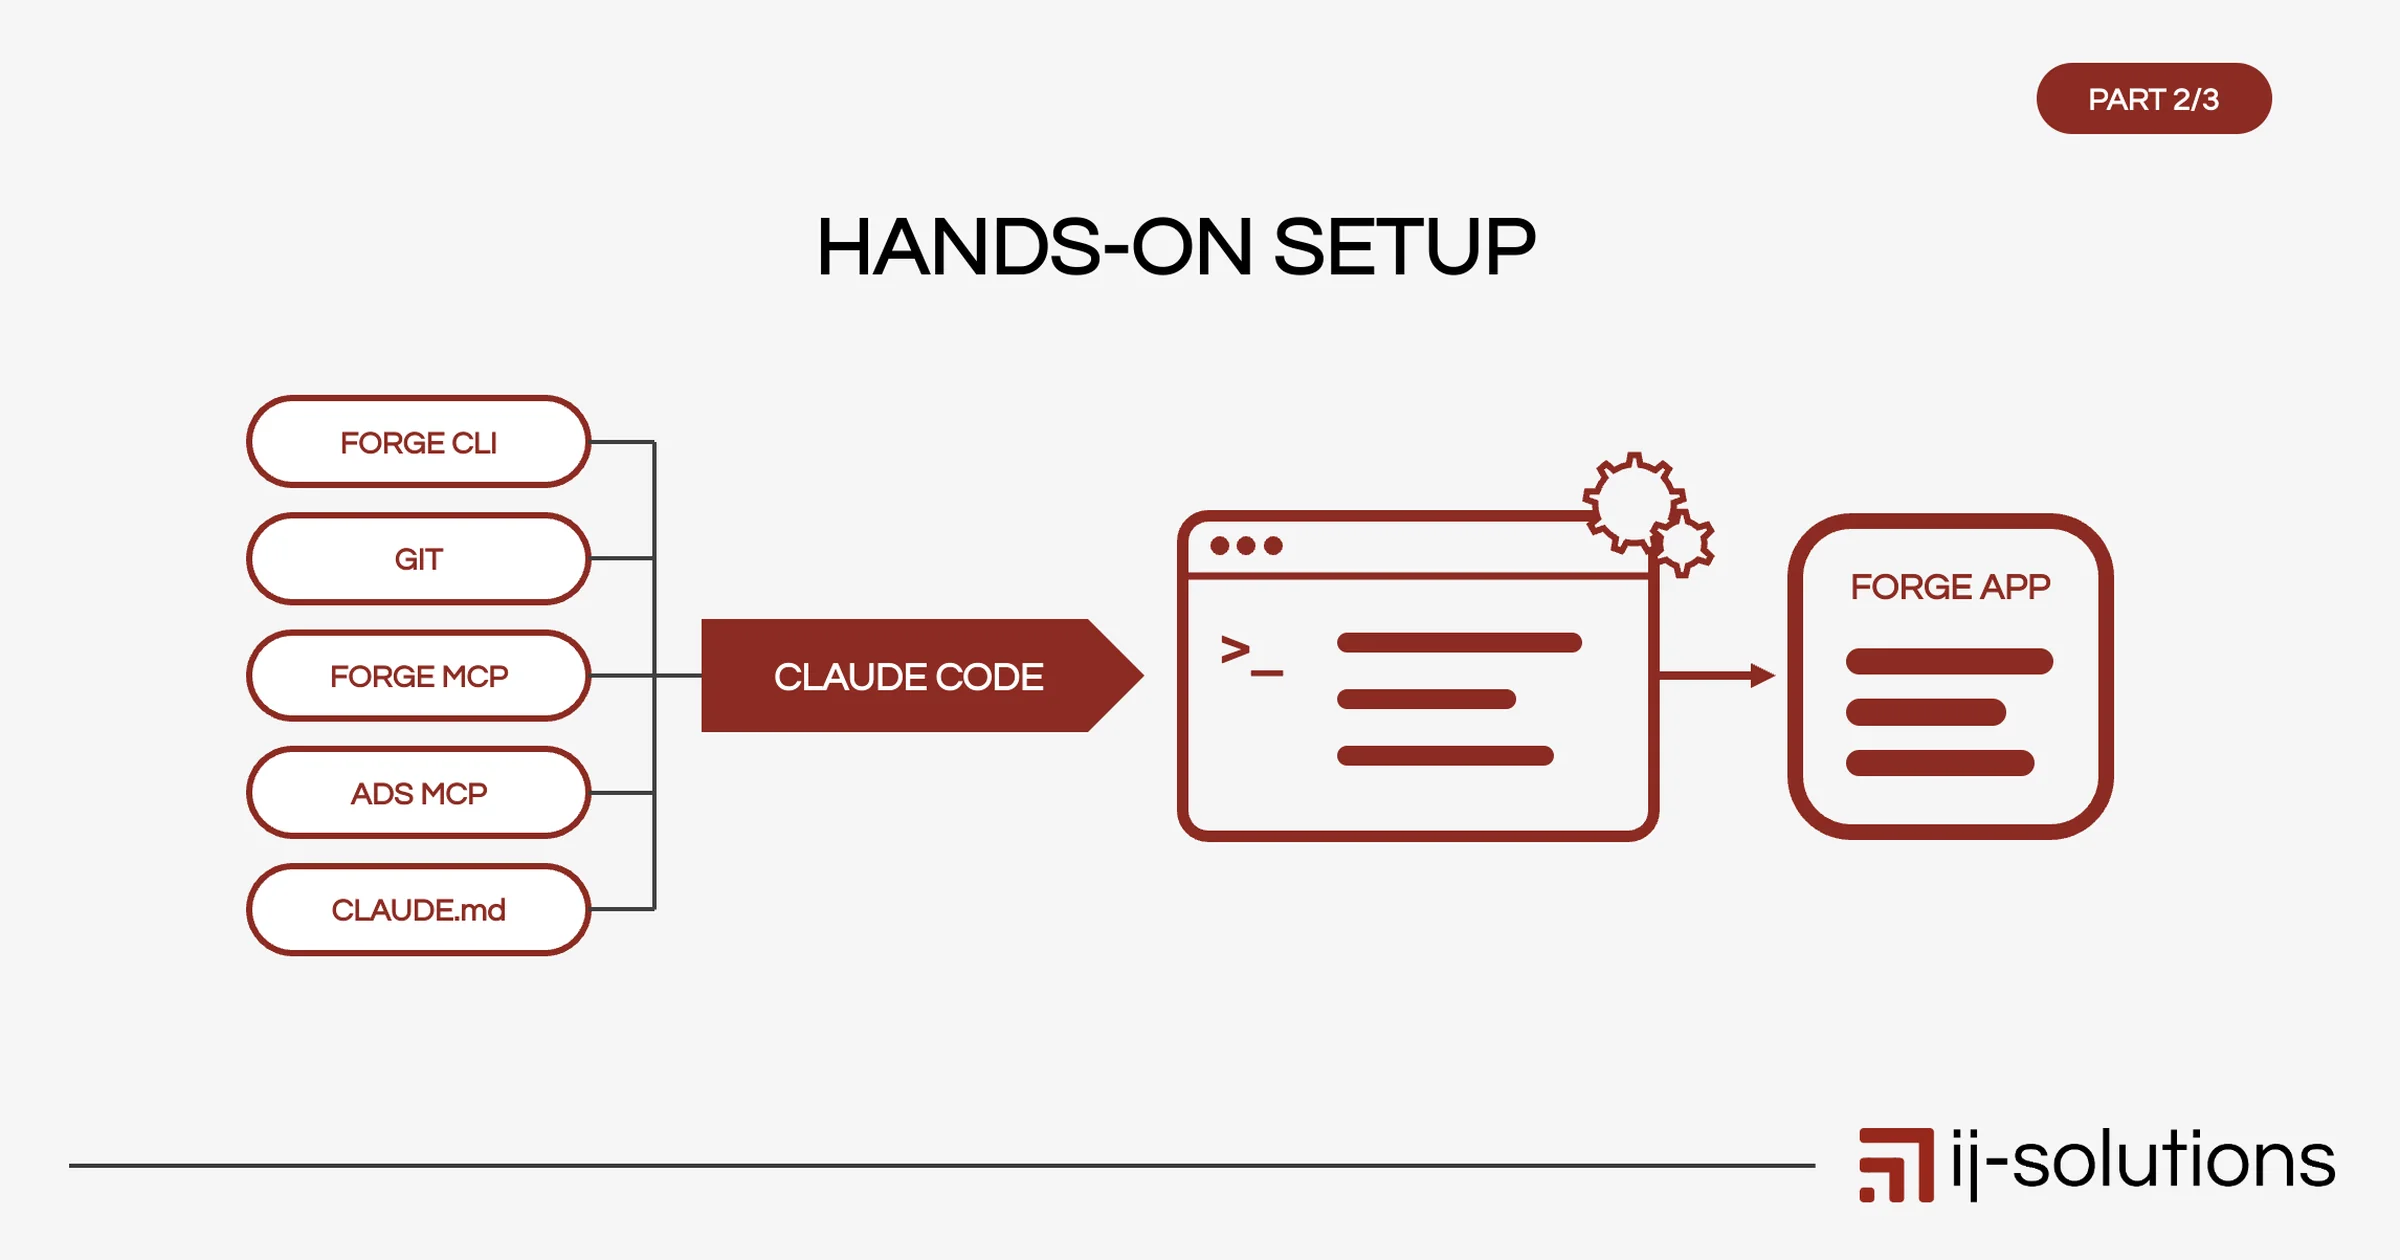

This is Part 2 of a three-part series on building Forge apps with AI. Part 1 covers whether Rovo Studio or Claude Code is the right tool for your project. Part 3 walks through taking your Forge app from preview to production.
Building a Forge app with AI assistance is genuinely faster than going through it alone — but only if your setup is right. A misconfigured environment, missing context, or unreviewed AI output can cost you more time than you save. This guide walks you through everything you need: prerequisites, scaffolding, connecting the right MCP servers, writing useful prompts, and the development loop that keeps you in control.
What You Need Before You Start
Get these in place before touching Claude Code or any AI tooling.
- A current Node.js LTS release (22.x or 24.x)
The Forge CLI requires an LTS version. Runnode --versionto check. If you’re on a different version, use nvm to switch versions without affecting other projects. - The Forge CLI, installed and authenticated
Install it globally:
npm install -g @forge/cli
Then log in with your Atlassian account:
forge login
- A free Atlassian developer site
You need somewhere to install and test your app that isn’t a production instance. Sign up at developer.atlassian.com — it’s free. - Claude Code
Install it with the native installer (macOS, Linux, WSL):
curl -fsSL https://claude.ai/install.sh | bash
On Windows, use the PowerShell installer from the Claude Code documentation, or install via Homebrew or WinGet. You’ll need a paid Claude plan or an Anthropic API account. Claude Code runs in your terminal and operates directly on your local files.
- A code editor and basic terminal comfort
You don’t need to be a seasoned developer, but you do need to read and understand the files the AI produces. VS Code works well alongside Claude Code’s terminal workflow.
Scaffold First, AI Second
Before you involve Claude Code, create your project structure using the Forge CLI. This gives the AI a concrete foundation to build on rather than generating everything from scratch — which tends to produce more errors and less idiomatic Forge code.
forge create
The CLI will prompt you to choose a template and creates a new folder for your app. The most important decision here is UI Kit vs. Custom UI:
- UI Kit uses Atlassian’s native React-based components. It’s faster to build, fully sandboxed, and the right choice for most standard Jira panels, issue glances, and admin pages.
- Custom UI gives you a full iframe with a bundled frontend. Use it when you need libraries, complex state management, or UI patterns that UI Kit doesn’t support.
Pick one and stay consistent. Mixing the two approaches partway through a project — especially with AI assistance — creates confusion and wasted tokens.
Set Up Git Right After Scaffolding
This is not optional. When you’re working with an AI agent that rewrites files, renames functions, and restructures logic in one go, git is your undo button.
Change into the new app folder and initialise a repository before you open Claude Code:
					cd your-app-name
git init
git add .
git commit -m "Initial scaffold"
Commit after every meaningful change — before a new prompt, after a prompt that worked, before you try something experimental. If the AI takes your code somewhere unexpected, git diff tells you exactly what changed and git restore brings it back.
Don’t rely on your editor’s local history. Git gives you named checkpoints and a clear record of what the AI suggested versus what you approved.
Connect the MCP Servers
This is where AI-assisted Forge development gets a significant upgrade over vanilla Claude. Two MCP (Model Context Protocol) servers give Claude Code direct knowledge of Forge APIs and Atlassian’s design system.
Forge MCP Server
Add it with:
claude mcp add --transport http forge-mcp https://mcp.atlassian.com/v1/forge/mcp
This connects Claude Code to Atlassian’s Forge MCP server, which exposes up-to-date Forge documentation, module catalogs, manifest guidance and UI Kit guidance. Source: developer.atlassian.com/platform/forge/ai-development-toolkit/forge-mcp/
Atlassian Design System MCP
Add it with:
claude mcp add --transport http ads-mcp https://mcp.atlassian.com/v1/ads/public/mcp
This gives Claude Code access to Atlassian Design System (ADS) components, design tokens, icons and accessibility guidance. It’s most useful for Custom UI, where you build the frontend with Atlaskit components and want the app to look native in Jira or Confluence. For UI Kit, the Forge MCP server provides the component guidance. Source: atlassian.design/get-started/develop/with-ai
Tell the Agent to Use Them
Adding the MCP servers isn’t enough on its own. Instruct Claude Code explicitly to use them — ideally in your CLAUDE.md file (see below), so the instruction applies to every session:
“Use the Forge MCP server and the Atlassian Design System MCP when answering questions about Forge APIs and UI components.”
Without this, the agent may fall back to general knowledge — which can be outdated or subtly wrong for Forge-specific patterns.
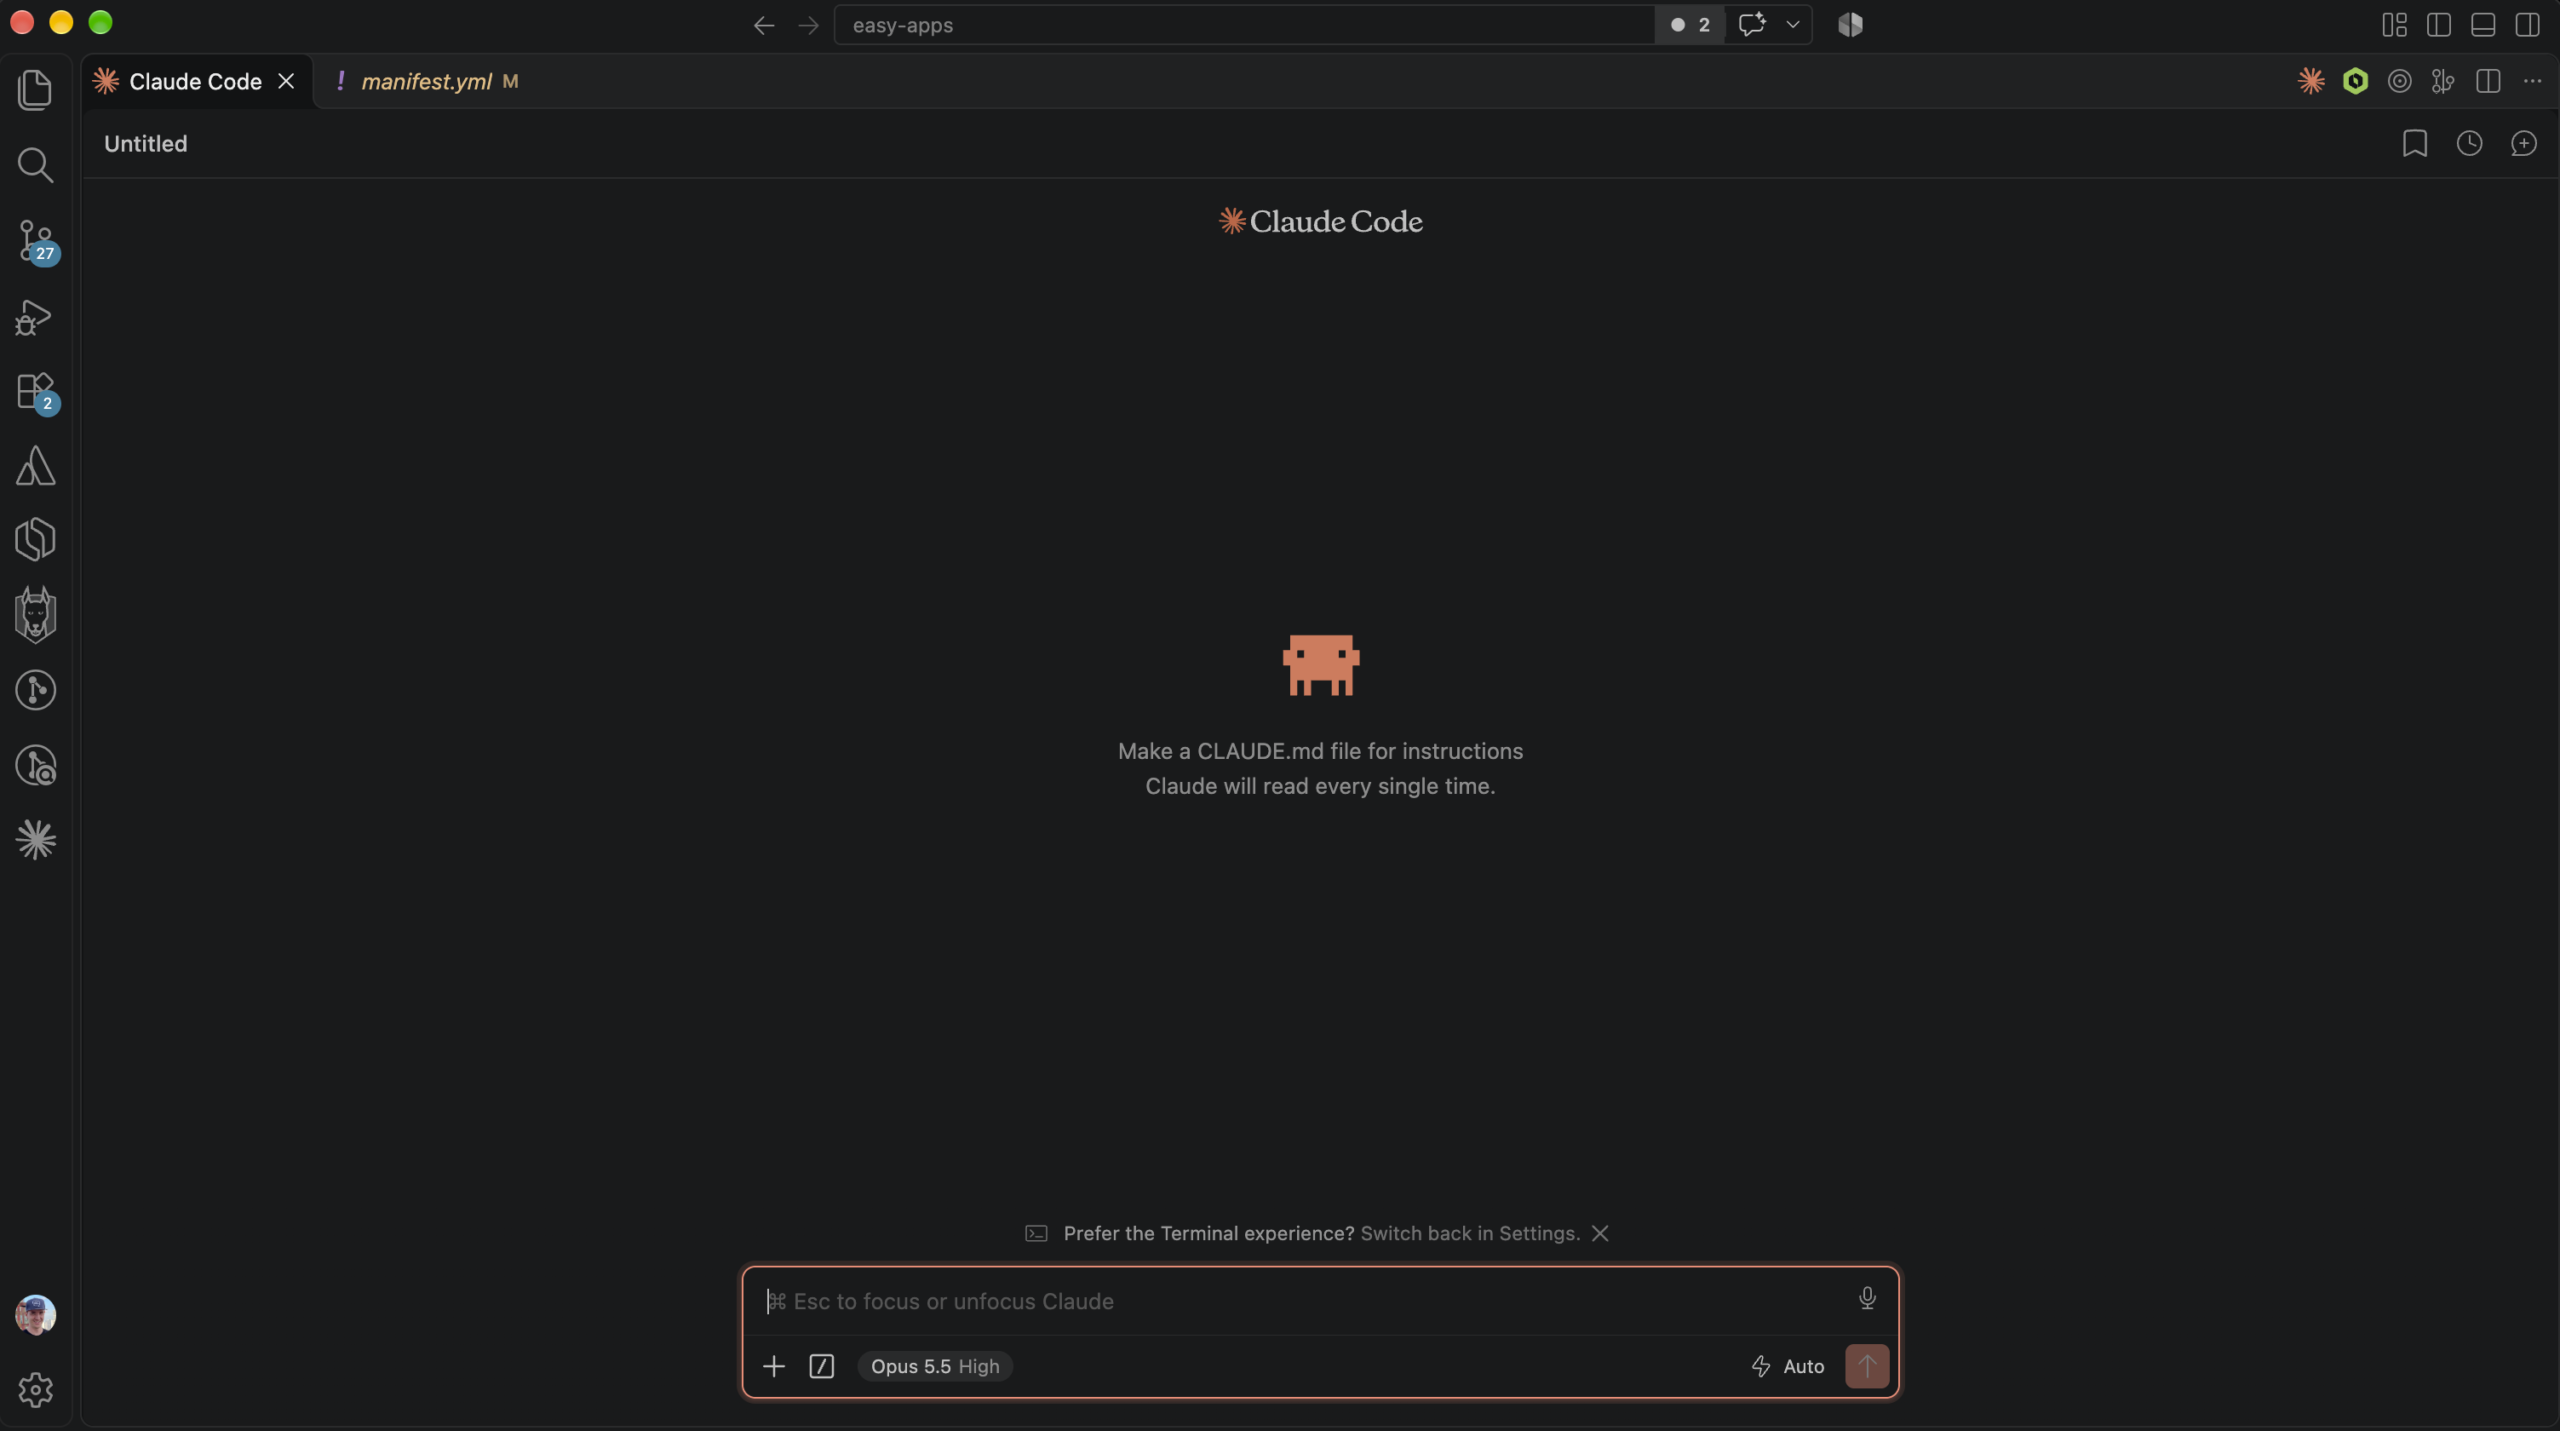
Create a CLAUDE.md File in Your Repo
A CLAUDE.md file in the root of your repository is persistent context for Claude Code. The agent reads it at the start of each session, so you don’t have to re-explain your project every time.
A useful CLAUDE.md for a Forge project includes:
					# Project conventions

## Documentation
Use the Forge MCP server for Forge APIs, modules and manifest questions, and the Atlassian Design System MCP for UI components and design tokens. Check them before relying on general knowledge.

## UI framework
This project uses UI Kit (not Custom UI). Do not suggest Custom UI components or iframe-based patterns.

## Scopes policy
Only request the minimum Jira scopes needed. Before adding any scope to manifest.yml, explain why it is required and ask for approval.

## Egress
All external HTTP calls must be declared in the egress section of manifest.yml. Do not make undeclared external requests.

## Code style
- TypeScript throughout
- Log errors with console.error; never log personal data, tokens or secrets
- Keep resolvers small; extract business logic into separate modules

## Testing
Run `forge lint` before every deploy. Flag any lint errors before proceeding.
Adjust this for your own project. The point is that the agent works within your constraints from the first message, not after you’ve had to correct it several times.
Writing Prompts That Get Useful Results
Brief Claude Code the way you’d brief a capable junior developer who doesn’t know your codebase yet. That means: module type, where it lives, what it should do, and what it must not do.
Weak prompt:
“Add a panel to show issue data.”
Stronger prompt:
“Add a Forge issue panel (jira:issuePanel module) that displays the current issue’s summary, status, and assignee using UI Kit components. The panel should only be visible to users with the Browse Projects permission. Use the Jira REST API v3 to fetch the issue data. Ask me which scopes the code will need before writing anything.”
The stronger version defines the module type, the UI approach, the data source, the permission context, and asks the agent to flag scope requirements before writing code. That last instruction is particularly useful — it forces a review moment before the manifest gets modified.
If a prompt produces something wrong or off-direction, don’t keep prompting on top of it. Revert to your last Git checkpoint and start the prompt again with more constraints.
The Development Loop
Once you have code to test, this is the cycle you’ll repeat:
1. Lint
forge lint
Catches manifest errors, missing permissions, and common code issues before you deploy. Fix everything the linter flags. Never ask the AI to “just suppress” a lint warning without understanding it.
2. Tunnel (for local development)
forge tunnel
Runs your app locally and connects it to your development Jira site in real time. Changes you make are reflected without redeploying. This is your primary testing environment.
3. Deploy
forge deploy
Deploys your app to Atlassian’s infrastructure. Required before installing on any site.
4. Install
forge install
Installs the deployed app on your development site. If you’ve already installed it, use forge install --upgrade.
5. Check logs
forge logs
Essential for debugging. If something behaves unexpectedly in the UI, the cause is almost always visible here. Check logs before assuming the AI’s code is correct.
Test the installed app as a non-admin user. Many Forge apps behave differently depending on permissions, and admin-only testing masks real-world bugs.
Dos and Don’ts
Do
- Start with an MVP. Get one module working end-to-end before adding features. AI-assisted development can move fast — that speed becomes a liability if you’re building on a shaky foundation.
- Review
manifest.ymlafter every AI-generated change. This file controls what your app can access. Treat every modification as security-sensitive. - Ask the agent which scopes its code needs. Make it explicit in your prompt: “Before writing code that calls any Jira API, tell me which OAuth scopes are required and why.”
- Check egress declarations. If your app makes external HTTP calls, they must be listed under
permissions.external.fetch.backendin the manifest. The AI doesn’t always add these unprompted. - Test as a non-admin user on your development site.
Don’t
- Copy AI output without reading it. Every function, every API call, every manifest entry — read it before you commit it.
- Let the AI accumulate scopes. Each iteration shouldn’t add “just one more” scope without justification. Audit the manifest regularly.
- Ignore lint errors. If
forge lintreports something, understand it before moving on. - Prompt over broken code. If the AI produces something that doesn’t work, revert and re-prompt. Stacking prompts on a broken foundation produces messier code and harder-to-trace bugs.
- Use Custom UI when UI Kit is sufficient. Custom UI is more complex, slower to build, and harder for AI tools to reason about correctly.
A Note on Rovo Dev
Claude Code is the focus of this guide, but it’s not the only option. Rovo Dev — Atlassian’s own AI coding agent — is also MCP-aware and has tighter native integration with the Atlassian ecosystem. If your organisation already uses Rovo, it’s worth evaluating. Part 1 of this series covers the comparison in detail and also provides details about Rovo Studio, the no-code building tool within Rovo.
Frequently Asked Questions
Do I need to reconnect the MCP servers every time I start Claude Code?
No. Once you’ve added the MCP servers with claude mcp add, they persist across sessions. To make sure the agent actually uses them, add an instruction to your CLAUDE.md file — then it applies to every session automatically.
Can I use Claude Code with Custom UI projects as well as UI Kit?
Yes, but the AI performs better with UI Kit. Custom UI involves a bundled frontend build process, external dependencies, and an iframe bridge — more moving parts for the agent to reason about correctly. If you’re new to Forge development, start with UI Kit.
What’s the difference between forge tunnel and forge deploy?forge tunnel runs your app locally and connects it to your Jira site for testing — changes are reflected immediately without a full deploy. forge deploy packages and deploys your app to Atlassian’s cloud infrastructure and is required before you can install the app on any site or share it with others.
How do I know if my app is requesting too many scopes?
Check manifest.yml after each AI-generated change and look at the permissions.scopes section. Each scope should map to a specific API call your code makes. If you’re unsure, ask the agent: “List every Jira API call in this codebase and the minimum scope each one requires.” Then cross-reference against what’s in the manifest.
What if Claude Code makes changes I didn’t expect?
Run git diff to see exactly what changed. If you don’t want the changes, git restore . reverts all uncommitted modifications — be aware that this discards everything since your last commit, including changes you may want to keep. This is why committing before every prompt is the most important habit in this workflow.
What’s Next
With your environment set up, MCP servers connected, and a working development loop, you’re ready to build in earnest. Part 3 of this series covers the path from a working preview to a production-ready app — with real examples of what broke after installation, how we found the cause, and a pre-rollout checklist covering scopes, permissions, platform limits and costs.
→ Read Part 3 (coming soon): From Preview to Production
← Read Part 1: Rovo Studio vs. Claude Code — Which Forge App Path Fits You?
ij-solutions builds Jira apps and offers Forge development consulting for teams who want custom functionality without the setup overhead. Browse our apps or get in touch if you’d like help with a Forge project.